Saturday 14 December 2013

Aerosoft Airbus X Extended A320 Review

So being an aviation enthusiast, it is almost impossible not to play Microsoft Flight Simulator X. In fact I've even joined a virtual airline (several, actually) as it adds some level of realism to the whole flight experience thingy. Today I'm going to review an aircraft add-on that I recently acquired and it is fabulous! I had a bit of a trouble flying other aircraft ever since cause I don't love them as much as I love this one I'm about to review =P

Introducing the Aerosoft Airbus X Extended. 


And let me just start with "I love this aircraft and it is a joy to fly". Why? Because it is just gorgeous. It has a very high level of in flight detail, cockpit simulation works very well and it really centers your focus on being a captain of the aircraft. I'll get more into that later. Before that, a brief intro of the Airbus A320.

The A320, manufactured by European aircraft manufacturer, Airbus is a short to medium range jetliner. It can carry up to almost 200 passengers and is one of the world's widely used medium haul passenger jet, next to Boeing's 737 series of aircraft, It features Airbus' brilliant innovation, the Fly-By-Wire system which increases safety in all aspects of flight and maximises efficiency and decreases workload by a tremendous amount. 

In a desktop simulator, there are very few aircraft add-ons that realistically simulate and accurately represent the real world aircraft. But Aerosoft (the FSX add-on developing company) has done an amazing job with this aircraft. And I would daresay I will never use another A320 or Airbus aircraft if it's not developed by Aerosoft. (The A330 is coming in 2014! Yayerrrrrss!!)

I'm going to let the pictures (and the captions) do the talking from this point :) (because I'm too lazy to type too much)

In the second jumpseat


Overview of the flight deck.

Cold & dark state. The aircraft comes with two MCDUs (Multipurpose Control Display Unit). The one on the left is the main MCDU which is used to program flight routes, etc etc and the one on the right is for aircraft functions and settings such as the doors, external power and aircraft state.

The overhead panel. Really love the level of detail. Majority of the knobs and switches are operational. Aerosoft left out some knobs and did not simulate them because they wanted to focus on the user as a captain which is mainly to fly the aircraft and other necessary tasks will be done by the virtual co-pilot (yes there is one and that's why I love this plane and Aerosoft!)

Jumpseat retracted

Jumpseat opened

You can even open the windows!

Waiting for the IRS (Initial Reference System) to align. The two blank screens will come to life and display information after the IRS has aligned which typically takes about 5 minutes to do so.

The two MCDUs

Lower ECAM showing the Wheel page. Shows information regarding the wheels status, temperature and brakes.

Ready to key in my flight plan!

Lower ECAM door page

Thrust levers. I love the level of detail here. I find the representation very accurate and I can vouch for that because I have been in a real A320 cockpit before. The throttle quadrants have detents or gates and they work very well in flight. Flap and spoiler levers are accurately modeled and engine starter switches look good too.

The ND (Navigation Display) showing the route

Some backlighting on the instruments. Very nice touch and looks amazing!

Flight instruments check.

Which is my aircraft? XD

The exterior model is very accurate and detailed although not as pretty as maybe Wilco's A320 but it still looks very good. And the engine fans or blades move and rotate as if they're being blown by the wind (on the ground, after the engines are off, of course)

There are even sliding tables that slide in and out! The copilot's table will slide out automatically once cruise altitude is reached and will be stowed on approach.

Night flight. You can see the instrument lighting is really gorgeous.

Night flight with dome lighting and instrument backlight

I love how the folks at Aerosoft pay close attention to detail. Love all the shadow implements. Adds that extra bit of kick in the cockpit. Visually pleasing, to say the least.

Flight displays and detailed HD flap and gear limitation reference. Eye candy.

Here I'm having the autopilot fly the ILS approach into Bangkok. As you can see, visibility outside is poor and that's where the ILS system comes in handy. I can safely say that the ILS on the Aerosoft AXE works very well although I haven't tried the autoland feature yet. (I prefer to manually touchdown the aircraft)

Hello Bangkok! Awesome scenery courtesy of A_A Sceneries

Gathering of the Asian Expresses

External lights are really good too. In comparison to other aircraft add-ons in FSX, the exterior lights (runway turnoff, taxi lights, landing lights) don't normally illuminate ground objects but for Aerosoft, they made that possible and everything seems prettier.

Runway 14 Left at Kuala Lumpur International 

Pushback and engine start at Kuching International..

In summary, Aerosoft has done the A320 justice. It is an awesome bird to fly and I am always hesitant to turn on the autopilot after takeoff as it is such a joy to fly manually. It is very responsive and handles well and accurately. The MCDU copilot function is super handy. Basically, Aerosoft incorporated a checklist function and a copilot function and those two work seamlessly together. This is really handy at critical phases of the flight such as landing where you don't want to be burdened with the workload and making sure the aircraft is configured properly. A virtual copilot will run through specific checklist, each for its respective phases of flight and the copilot function responds automatically to each checklist item. The checklist even start its sequence automatically when it detects you are near or runway, getting ready for takeoff or when you're on approach to an airport. This makes life a whole lot easier. Of course, the copilot function can be turned off and you can do everything by yourself. This is recommended to those who want to familiarize themselves with the Airbus cockpit flow and philosophy. 

All in all, this is one of the best payware aircraft out there (for Airbus fans) and it comes in A319/A320/A320 NEO/A320 Demonstrator variants. 

Tuesday 3 December 2013

An awesome hour and 175 Singapore dollars at Flight Experience Singapore

So there's this place at the Singapore Flyer called Flight Experience Singapore. What it is is a fully working fixed base aircraft simulator open to the public. Now I know when some of you read the words 'open to the public' you'll think that's probably just a game or a simulator for kids or something of the sort.

NO

It's not a toy. This is a certified simulator used to train real life pilots and the people running it are all in the aviation industry themselves. Now I first learnt of this simulator online around last year, I guess. I was browsing for simulators that members of the public can actually try out for themselves but during that time there wasn't anything of the sort here in Malaysia yet. And even if there was, it would cost almost up to RM700 and above. I'm referring to the Malaysia Airlines one in KL.

So I discovered Flight Experience Singapore. But the problem was, it was in Singapore. I met a friend sometime ago while flying online in a desktop simulator. He lives in Singapore, he goes to the FES Centre often and now he's doing his training there quite regularly. And so I asked him about the FES and as a result, the desire to actually go there grew till it almost drove me nuts. And just two weeks ago I had the chance to FINALLY go to Singapore on a family trip. We were going to Singapore to attend a cousin's wedding but while I was in Singapore, all thoughts of the FES totally slipped my mind. I guess I was too overwhelmed and excited of the thought of finally going back to Singapore after more than 10 years. And on the final night in Singapore, my dad suggested we go up the Singapore Flyer, the largest Ferris wheel/observation wheel in the world. Little did I know that my childhood dream would finally take flight there.

So we went onto the Flyer, took lots of awesome photos, awed at the light show at the Science and Art Museum, Marina Bay Sands and the Gardens by the Bay. And I picked up a pamphlet about the Flyer, leafed through it and saw that the FES was at the Singapore Flyer building just below. I freaked out! I totally forgot about it and if it weren't for that pamphlet, I would have missed out on the opportunity of a lifetime. So when we alighted the Flyer, I went to the info counter and asked them about the FES. The counter girl didn't have a clue. I reached for the pamphlet, pointed at the FES advertising and still she didn't know. Like whaaaaaaaaaaaaaaaaat????? What kind of staff are you?

Not giving up easily, I searched the building and finally found it.


That door and signboard! It's like opening a door to my aviation Narnia!


Behind those cabin doors will be where my childhood dream finally come true. And not to mention total planegasm for aviation geeks like me.

So I finally found it and stepping inside was like a dream. Boeing merchandise were all over the place. From scaled model airplanes to T-shirts, caps, bags, keychains. But I wasn't here for those. I wanted to get into the cockpit. And fast. So I coughed up a total of 175 Singapore dollars and that's it. After watching a video briefing on things that I already know (hehehehe) it was time. 

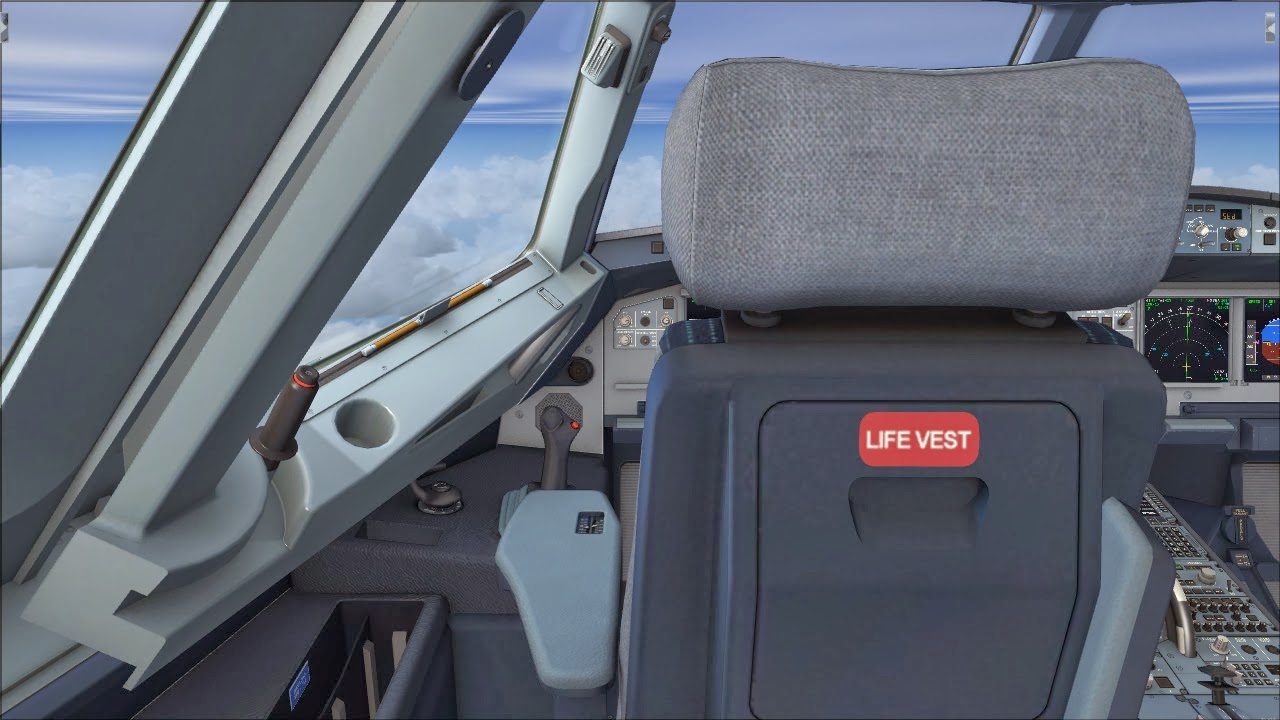
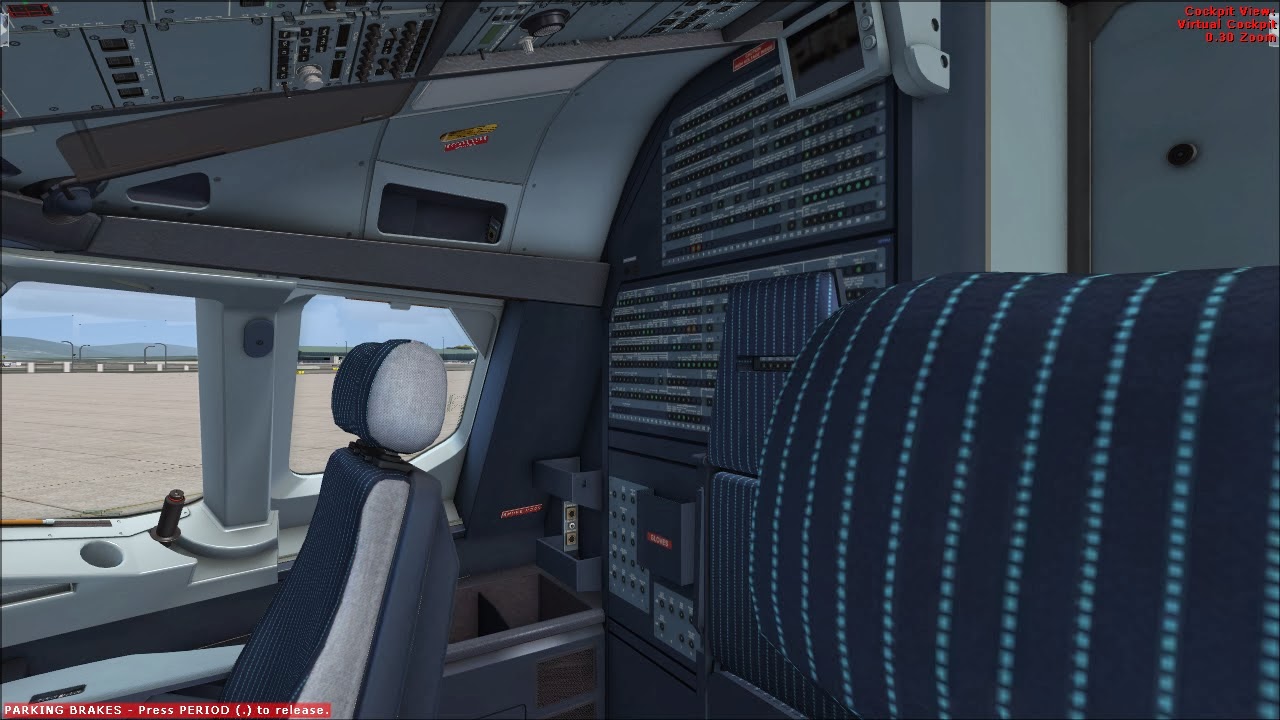
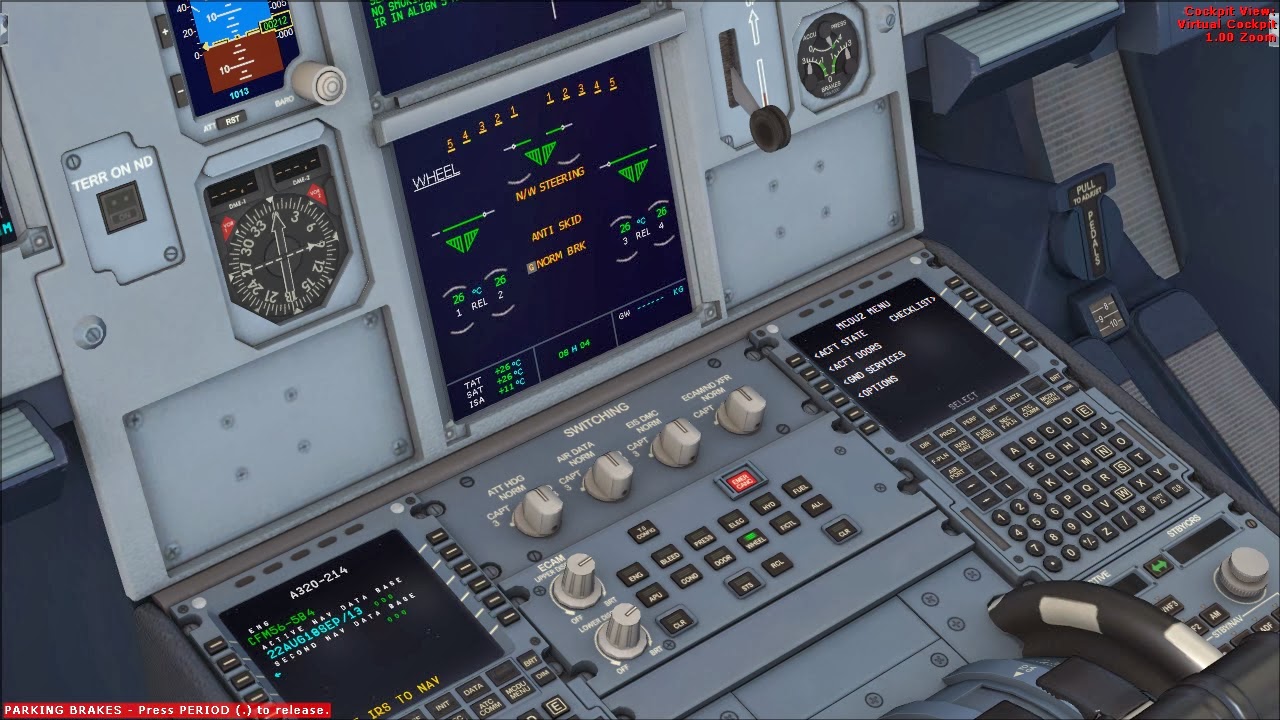
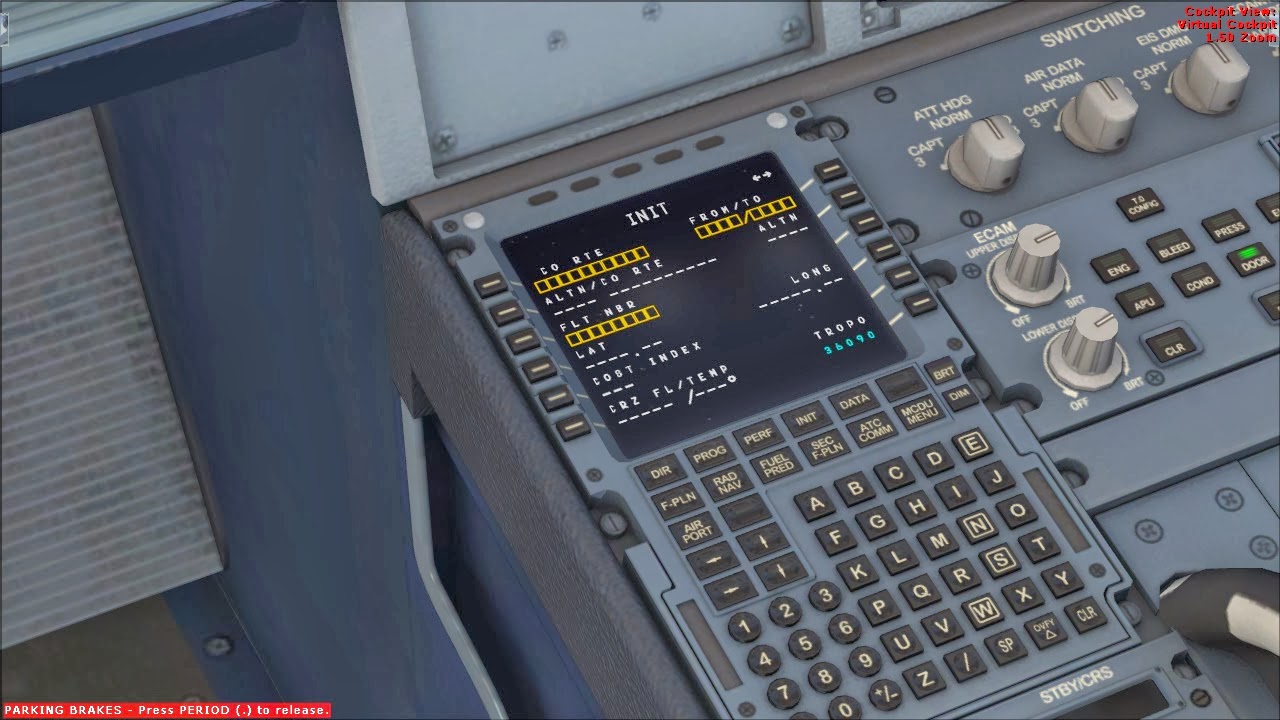
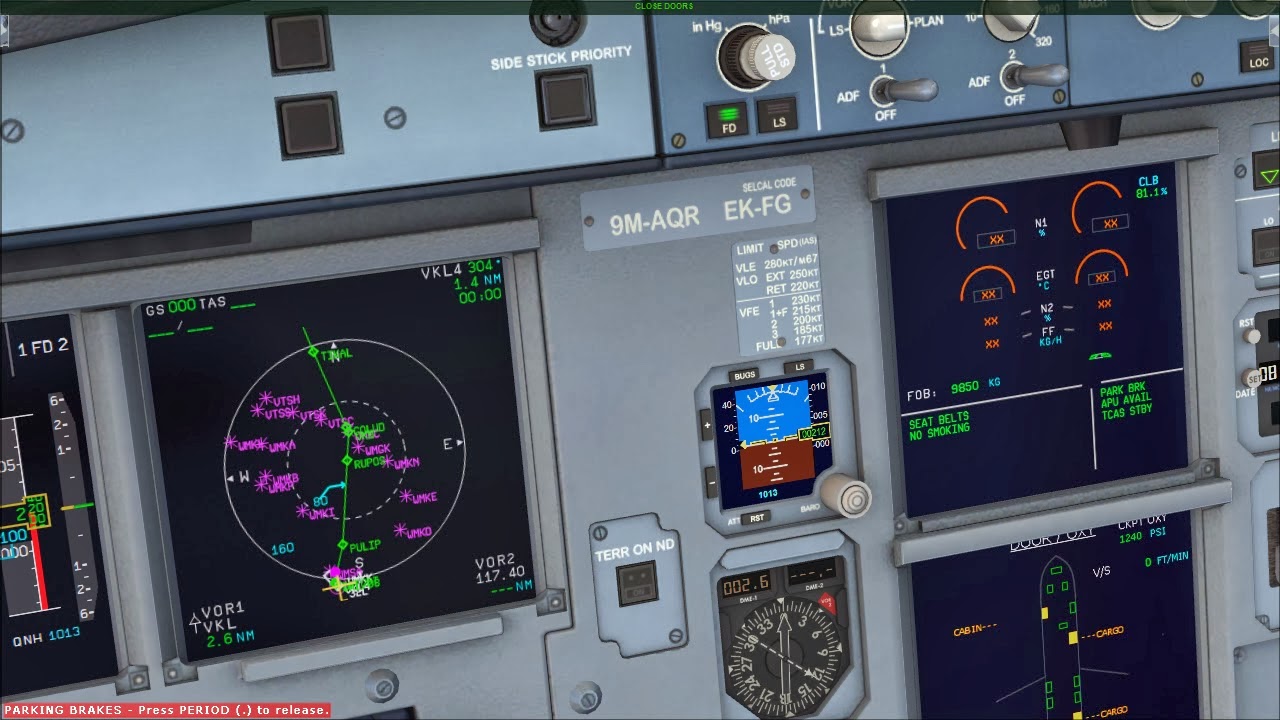
When I stepped into the cockpit I was like what the hell!! It;s exactly like what I see in videos and in real life. The difference between being there in person and seeing it in pictures makes for no comparison. My copilot/instructor welcomed me aboard and I was seated in the captain's seat. As soon as I was seated I began fondling with the seat, setting myself up for the ideal chair position =D it's like aviation candy store in there. I took awhile to look around, examining every knob and dial, lever and labels. It's all real. But I was quite worried because on the desktop simulator, my aircraft of preference was always the Airbus A320. I've flown the Boeing 737-800 lots of times but somehow I ended up liking the A320 simply because of the way it flies, its systems and controls philosophy and loads of other stuff. To simply put it, I liked the Airbus systems because it is more straightforward, simple, less workload while the Boeing was more hands-on, analog in some areas and you really had to multitask well. I'm one of the virtual pilots of the Malaysian Virtual Airlines and I've clocked it a total of 70 plus hours flying the Airbus. So that was the reason why I was a little worried when I stepped into the cockpit. I was afraid I've forgotten the flows of the Boeing.

But on to the experience itself. The instructor set me up for one takeoff, one touch and go (in layman's terms, land and take off again immediately), and one full stop landing. In the simulator cockpit, I was already checking off items off the top of my head. It was reassuring to know that I still recognised the buttons, knobs and instruments and where everything was and what they did. So my flight path of the day was, takeoff from the new and current Hong Kong airport, do a touch and go here and fly to the old Hong Kong airport (Kai Tak) for the world famous IGS runway 13 checkerboard approach. When my instructor suggested Kai Tak, I was mortified because that approach and landing used to be one of the world's most dangerous ones but thanks to his guidance and patience, it all ended well. 

So first takeoff was smooth, a little wobbly during the climb but improved and gained much more control during the later parts of the flight phase. Here I had hands-on lessons on maintaining speed, altitude and other things. Things I've never had the privilege of learning before. All my flight skills and knowledge in the simulator came from me learning them myself. So having an instructor beside me was certainly a whole new level of learning. Soon we began our descent into the new Hong Kong airport. I was quite bad on the approach I must say. A little too high and off course but with the help and guidance of my instructor, I was on the runway centerline just before touchdown. I was really nervous for the landing even though it was a touch and go. So touchdown, landing wasn't as smooth as I wanted it to be but that's okay, I don't have hundreds of passengers to be accounted for. Few seconds after the nose wheel touched down, I advanced throttle to takeoff thrust and put the bird back in the air for the second time. I was really happy when my instructor told me the second takeoff was much better than the first. Like yay! All those years of desktop simulation was worth it. Soon we were navigating our way to Kai Tak and its dreaded approach path. For those of you who don't know about Kai Tak, it's one of the most dangerous places to land in. The runway is surrounded by apartments, buildings, residences, mountains, hills and just obstacles everywhere your landing gear might even kiss one of them if you're not careful. The approach consist of flying a path until there's a hill directly in front of you. And on the hill there's this huge checkerboard and on the ground are flashing strobes guiding you on a 45 degree right turn to the runway.Planes flying this approach will be so low to the ground it's just terrifying. 

So on to Kai Tak. Soon I had my sights on the flashing strobes and the big huge board on the hill. With the aid of radio navigation aids called the Glideslope (one of the main components of an ILS/IGS landing) my vertical path was guided by it until the moment the runway was in front of me. The horizontal approach path, however was done visually. So it was kinda like a mix between IFR (Instrument Flight Rules) and VFR ( Visual Flight Rules) flight and it was thrilling! So when it came to the 45 degree turn, I was really being careful with the controls. I was scared that I would overturn the aircraft and cause a bank angle limit warning but the instructor kept urging me to 'turn more, more right turn' and I did what he said. All that resulted in a steady approach and quite a good landing. Something I can walk away from and be proud of. Oh I also suggest that you guys watch Kai Tak landing videos on Youtube to get a clearer picture of what I'm going on about here. 

And so with that landing, the engine levers in the idle positions and the parking brake set, my experience in the simulator was over :( I was really sad when I left the cockpit. But that was one experience I would remember and cherish for as long as I can.My instructor was really nice and kind with his words. Throughout the flight he was like 'yeah, very good/nicely done/very smooth/not bad'. His end comments about my performance were 'good, smooth flying, able to multi-task well but need more familiarisation on how the aircraft flies'. Which is true about the last part. I need to focus and familiarise myself more with the aircraft. Hopefully I will get the chance to someday. And I guess I've done myself justice. From a kid watching planes takeoff and land for hours without getting bored to aviation photographer (plane spotting) to First Officer in a virtual airline and finally to an 19 year old with his dream to fly still burning bright in him, flying a Boeing 737-800 simulator. I am truly blessed and thankful for the opportunity to achieve my dream and hopefully I will be back in Singapore next year to try to A320 simulator (by SG Flight Simulations) in Orchard Central. 

And D'Oh! I forgot to ask for my instructor's name >< 


Saturday 14 September 2013

Taylor Swift's Arsenal Of Guitars (A guide to Taylor Swift's guitars) Part 2

So in this post I'm going to cover Taylor's electric guitars, banjo and ukelele. Plus some other new guitars that she recently started using and also guitars that she rarely uses on live shows.
First we dive into the electric guitar category. In Part 1 I already included the red Gibson Les Paul. So here are the others.
We will start with the Taylor SB1-X. This classic Taylor solidbody is used by Swift in various performances one of which is during her song Should've Said No (Fearless Tour). Here she uses a black version of the guitar. It is also used in her Picture to Burn music video.


She also uses a white version of the guitar. I could only get pictures of the performance. However I don't know for which song it was used for or when it was used.


Another Taylor electric guitar that she uses is the Taylor SB1-S. This was used for the song Mine (CMA Music Fest 2010). It has been customised a little because of the fretboard inlays that originally weren't on the stock model. The inlays are identical with the ones on her acoustic Koas. (See Part 1)


Next up is the Taylor Classical guitar that she uses during the song Hey Stephen (Fearless Tour). So far I've only seen her use this guitar for this song on the Fearless Tour. This might be the only classical guitar that she's ever been spotted using on tour or at a concert. This guitar is the Taylor NS72ce. Spotting a western red cedar top with Indian rosewood back and sides, it is a perfect combination for a classical guitar. Listen closely to the studio version of Hey Stephen on the record. Perhaps you might even hear it :) it has a Grand Concert body shape with a Taylor ES-N electronic system on board


Now on to her other acoustic guitars. Next is the Taylor 614ce. With a solid spruce top and a big leaf maple back and sides, this guitar has a sparkly sound to it. It sounds very responsive and has a very bright high end tone to it. It is very distinct when she uses it live. With a Grand Auditorium body shape and Taylor's Twisted Ovals fretboard inlays, this is a guitar made for the stage. Swift uses a red version of this guitar to color code it with her Red Tour. Red and red must go together xD This guitar was first seen on her Ellen outdoor performance to promote her newly released Red album. It has since been used on her Red Tour as part of the B-Stage Acoustic Set where she goes to a small stage at the back of the venue and plays acoustic version of songs from her previous albums. 


 A standard 614ce


Look at that beautiful maple!


I'm digging the blue one


But red is nice too :)


Let's move on to another acoustic guitar that she recently acquired and started using. The Taylor 718e First Edition model. It's a brand new model from Taylor Guitars sporting a new body shape (the Grand Orchestra). It has a solid spruce top with Indian rosewood back and sides with a vintage looking sunburst top. This guitar is used during her performance of Everything Has Changed (Red Tour) with Ed Sheeran. It is also used during the performance of the same song on Britain's Got Talent. 


Next is another Taylor guitar. She never really uses this except for just one performance (Your Anything), (Your Face) and (Beautiful Eyes) during Taylor Guitars showcase in 2005 at the NAMM show. This guitar is the Taylor T5 hybrid guitar. It is both an acoustic and also an electric. Pretty cool huh. She has a koa one and a special pink one that she uses for a photo shoot and has her name in inlays on the fretboard. 


And did you guys know that Taylor Guitars have a signature Taylor Swift guitar? It's called the Taylor Swift Baby Taylor. A compact sized travel guitar, Swift describes it as a guitar that she used to learn on and often uses it for songwriting. She has never performed with this guitar live before. It is only used by her for songwriting. 


With a guitar case that small, it is DEFINITELY 100% a Baby Taylor she's carrying.
Here's a look at the model that Taylor helped design.


And to end the acoustic guitar section of this post, we go back all the way to the beginning. Swift's first Taylor guitar was a store bought stock model K65ce. A full koa guitar, it is a 12-string with a traditional jumbo body shape and according to Swift, this is the type of guitar she learnt on. It is also seen in some of Swift's home videos of her singing and performing before rising to fame. It has her name inlaid onto the fretboard just like the Taylor T5. 


She normally has two of the same guitars and the K65ce is no exception. (According to Taylor Guitars website)

Next we step out of the guitar zone and head off into the banjo and ukelele zone! =D

The banjo that she uses is a Deering Boston 6-String Acoustic/Electric Banjo. Swift uses it during her performance of Mean at the 2011 CMAs and on her Speak Now World Tour for her Our Song and Mean. It is also used on the Red Tour for Mean. It is also featured in her Mean music video.


Aaaaaaaaand to conclude this looooong post is the ukulele!!! She only uses it for Fearless (Speak Now World Tour). The company that makes the uke is called Leilani and is not very well known compared to brands such as Mahalo, Makala and KoAloha, just to name a few. 


I hope you guys enjoyed my post (both parts 1 and 2) and it was really tiring and took quite a lot of research. I'm sure I've missed out a few but I purposely skipped them because the rest are guitars used for photoshoots and I only feature the ones she uses live in concerts and shows. Hope you guys enjoyed and sorry if it's too long and loaded with tons of pictures ><

All credits go to original owners of images and websites. No copyright infringement intended.

And lastly, follow my blog =D